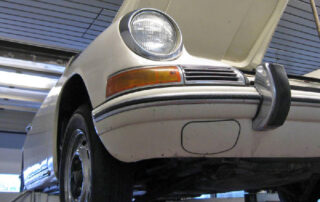
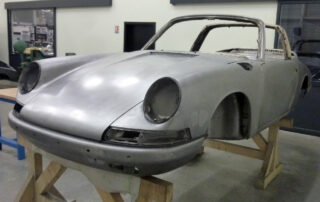
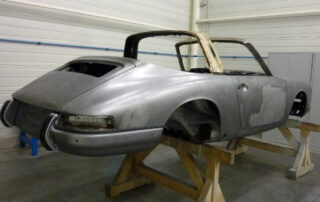
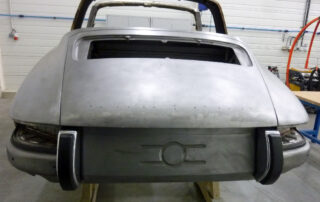
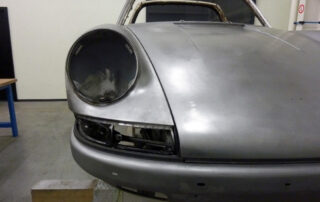
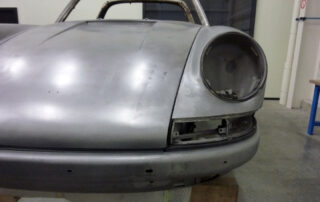
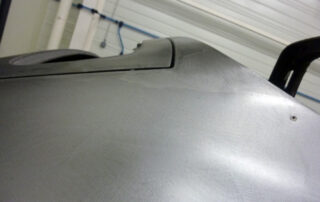
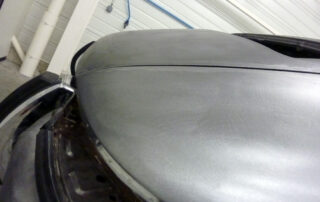
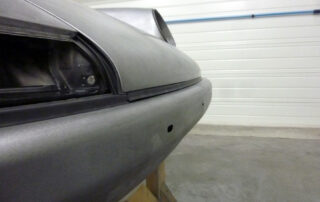
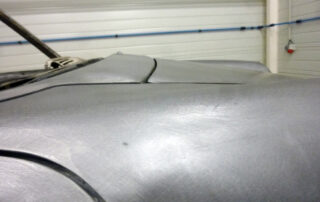
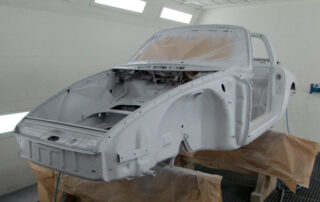
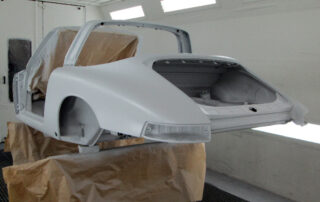
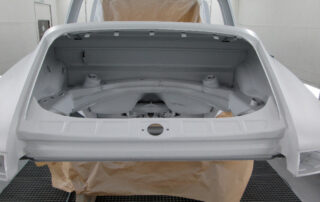
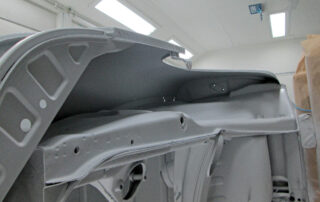
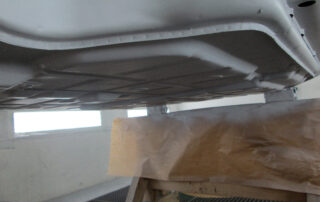
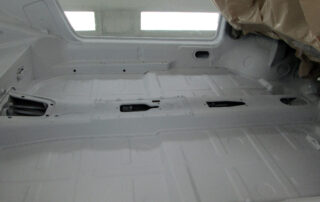
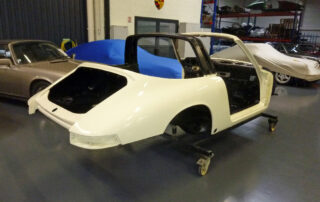
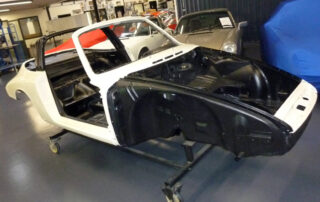
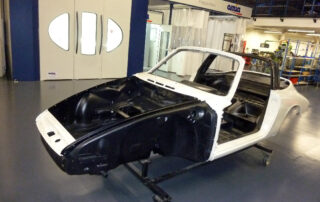
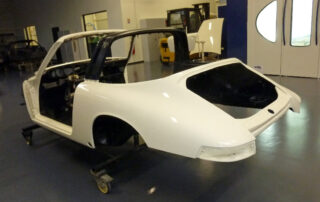
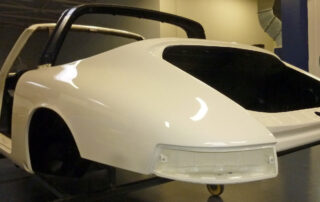
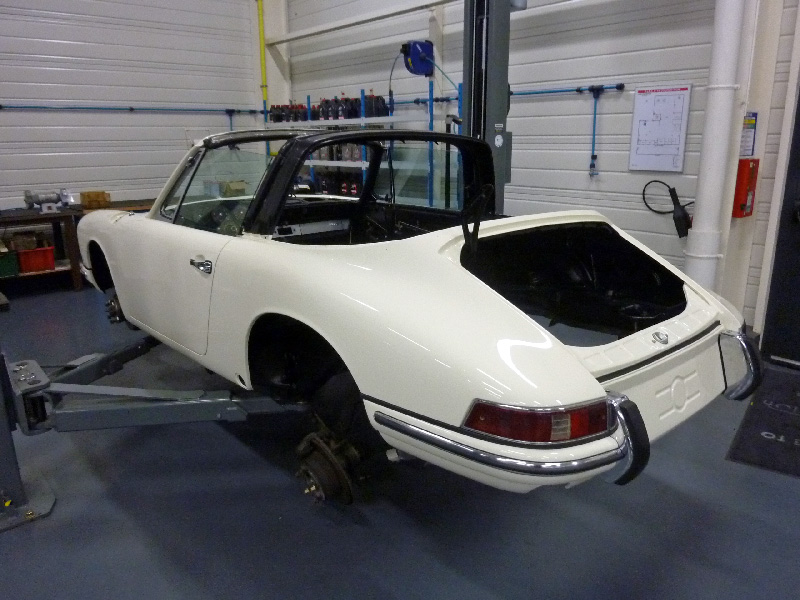
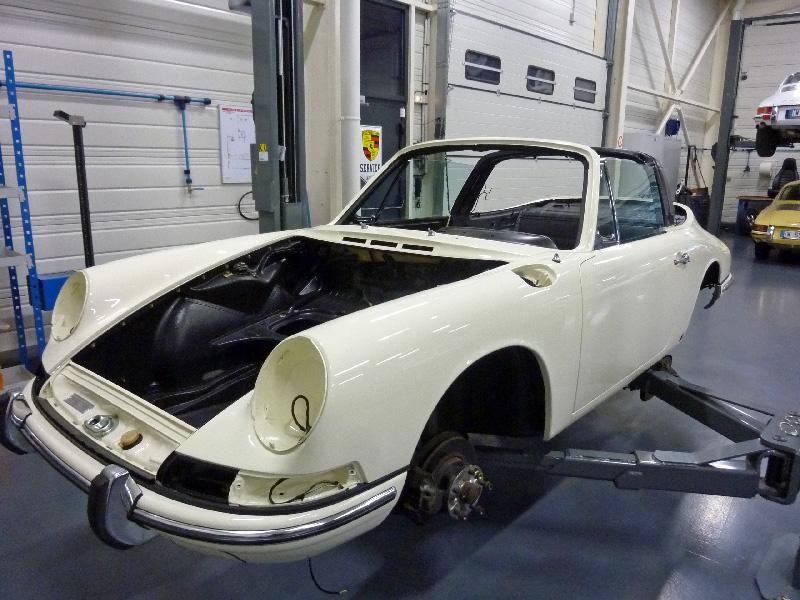
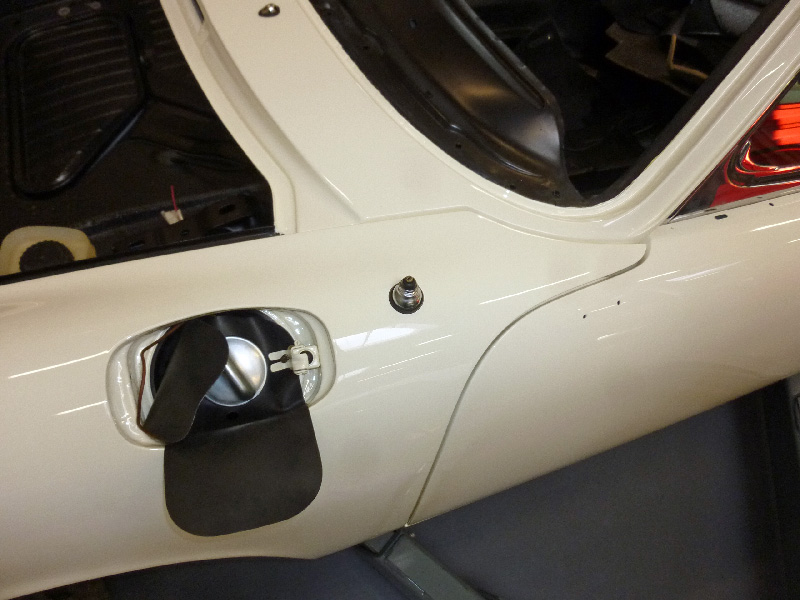
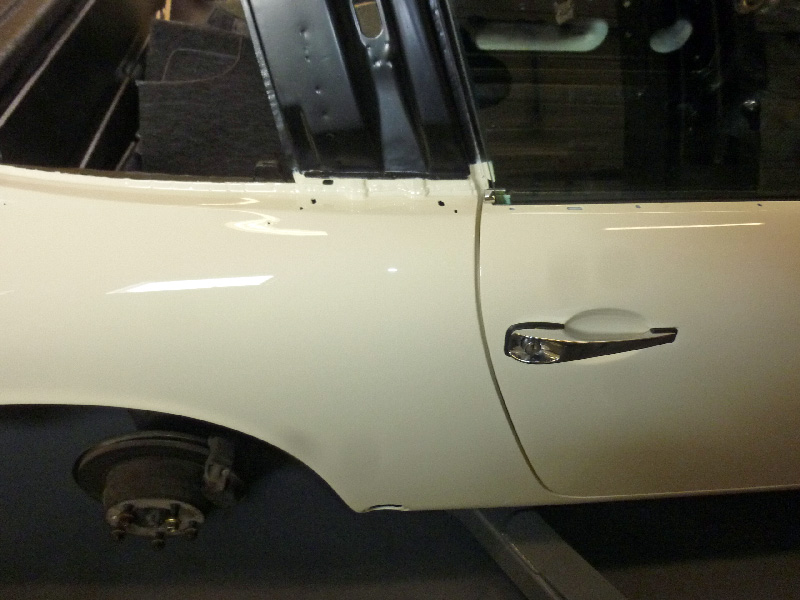
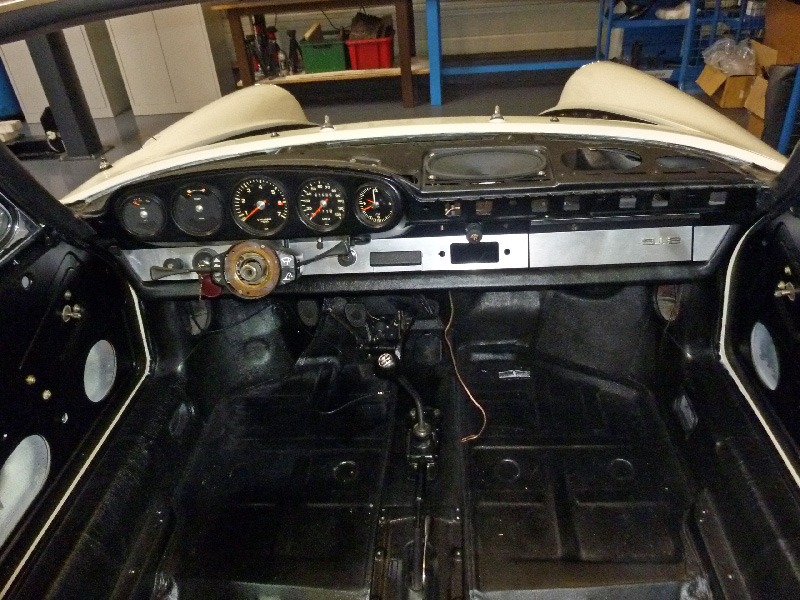
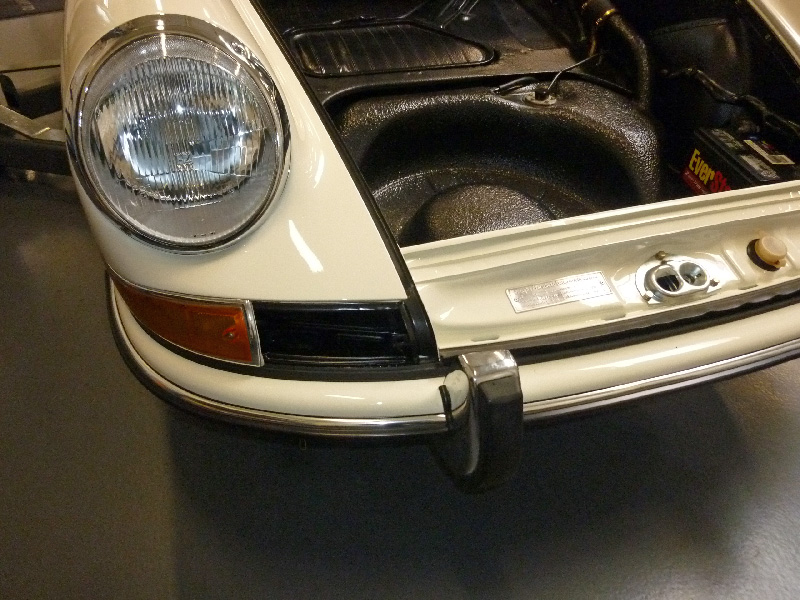
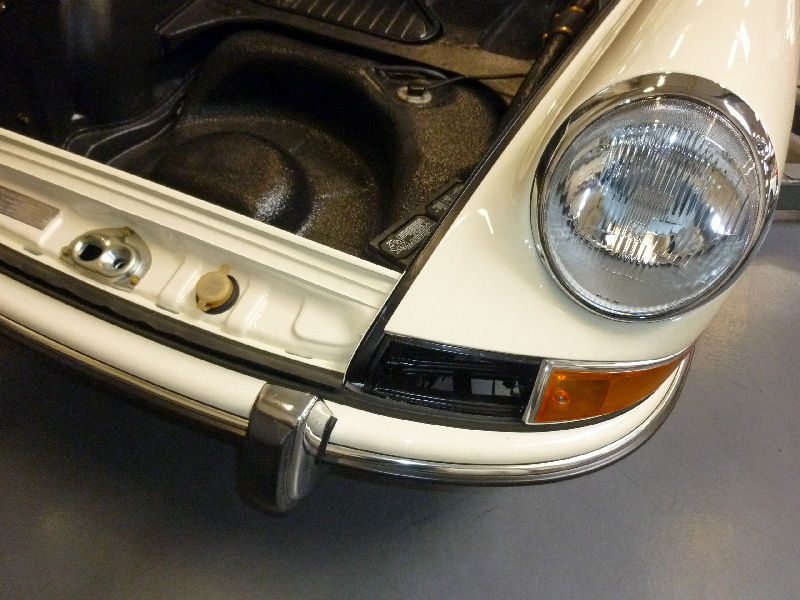
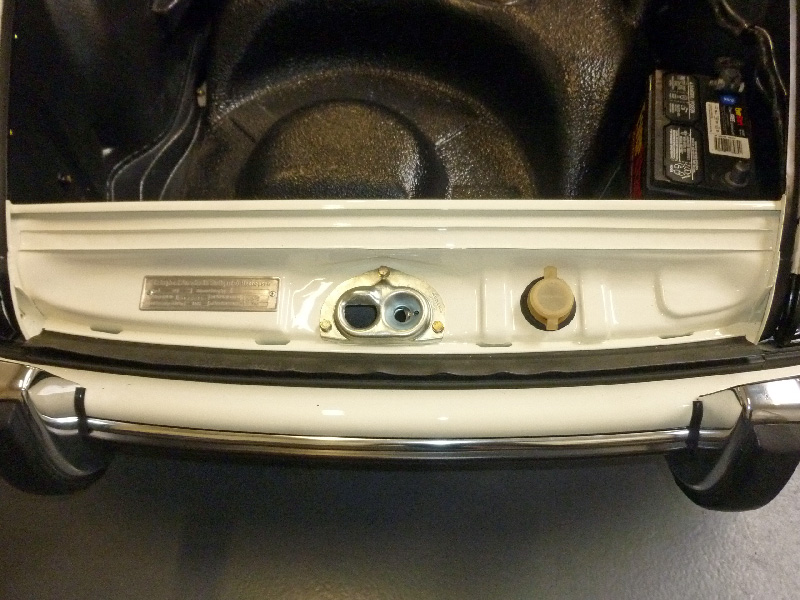
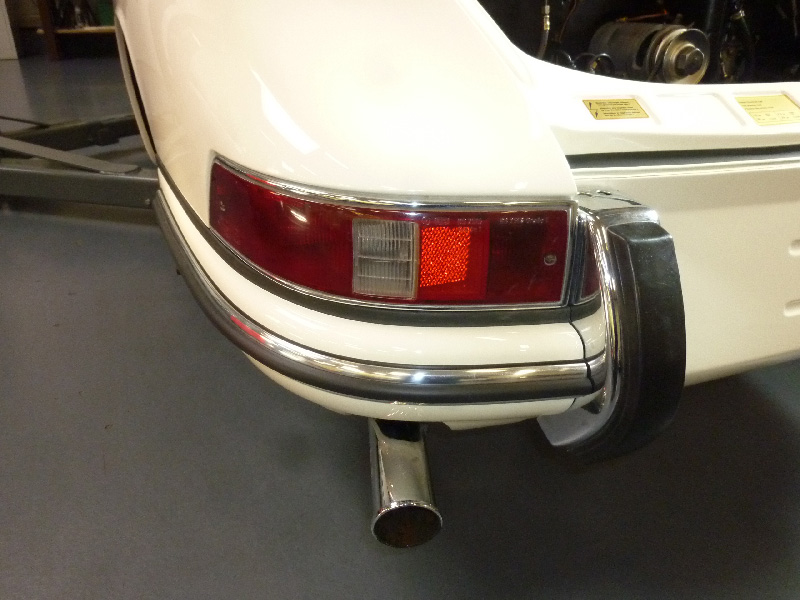
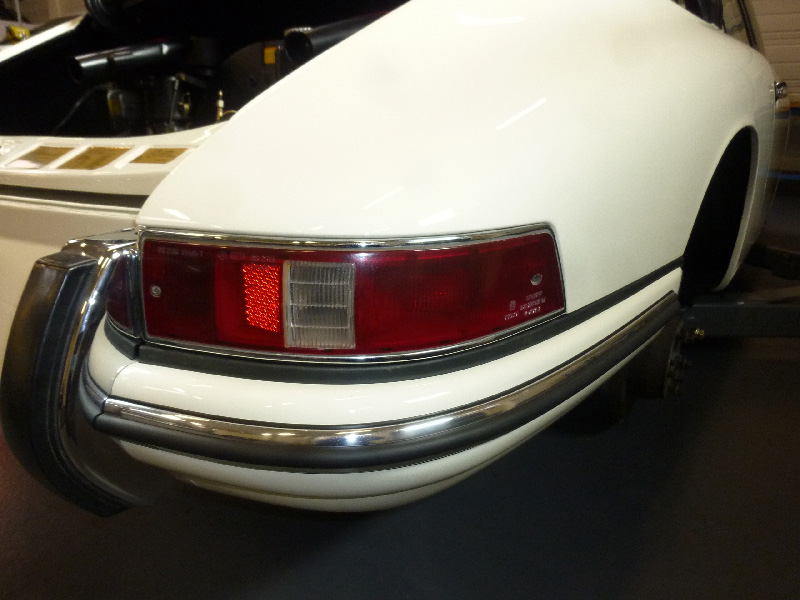
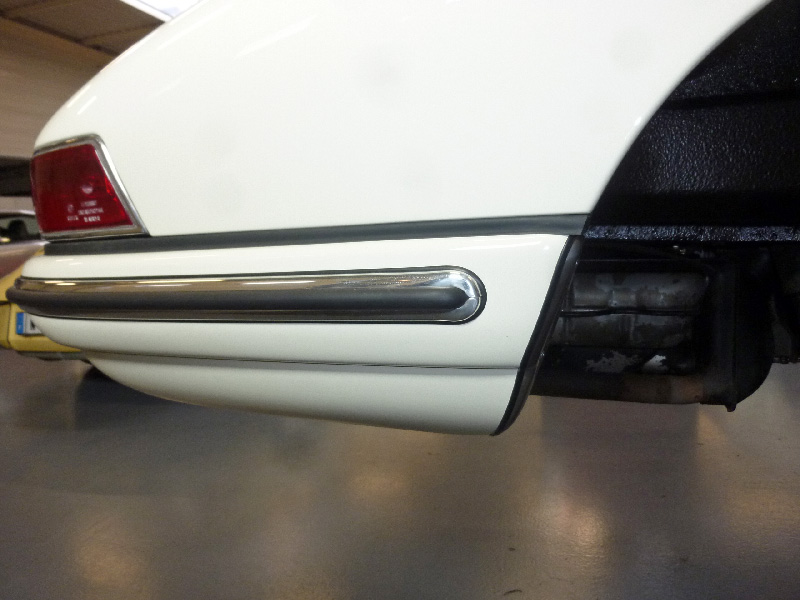
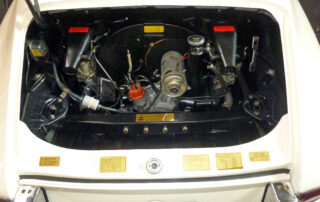
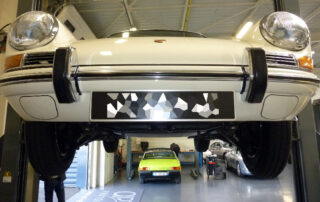
This 912 Targa Soft Window is a first hand US origin. Her French purchaser entrusted her to us to restore her hull and paintwork.
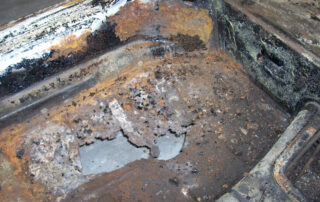
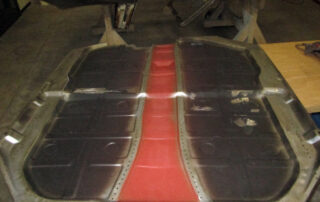
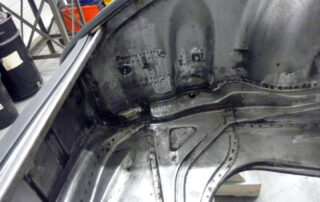
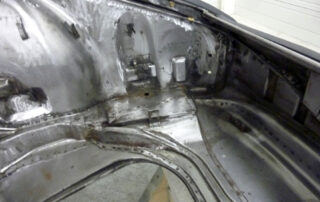
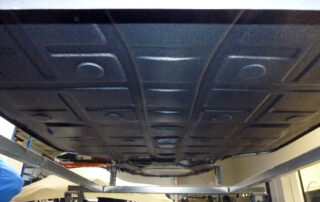
The hull of this 912 seemed to be in very good condition except for the rotten floor at the rear passenger feet. An old paint veil was made in the US, no trace of accident is observed. Her previous owner had begun stripping the underside of the hull to refinish the floor, which gave a better idea of her condition before purchase.
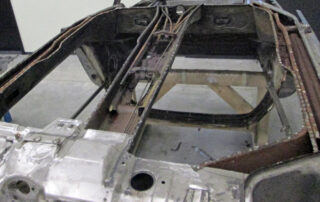
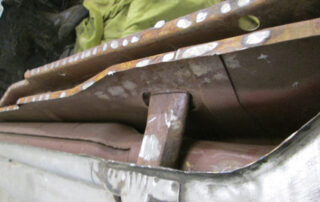
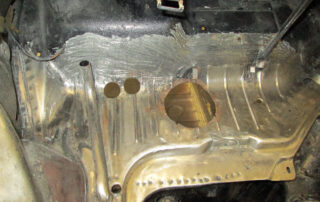
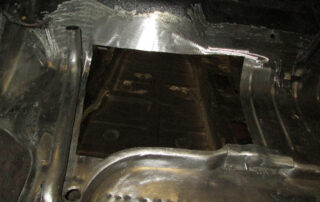
The stripping of the hull revealed a lot of rust spots that we will deal with later. We proceed to the removal of the floor by removing all the welding points one after the other in order not to deteriorate the docking edges that will allow us to weld the new floor.
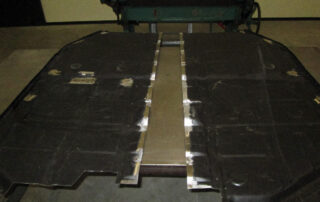
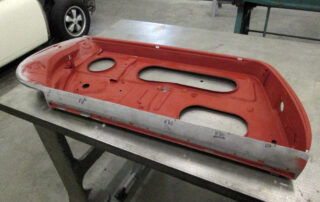
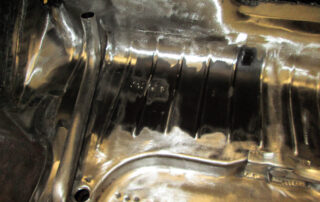
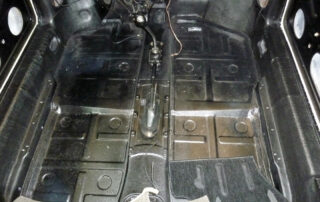
The floor was delivered to us in two parts that we assemble by butt welding and prepare for a perfect fit before welding. The docking edges are also prepared to receive the floor.
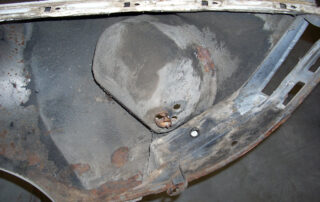
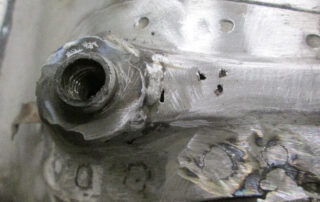
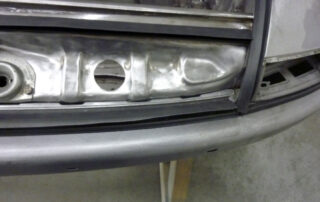
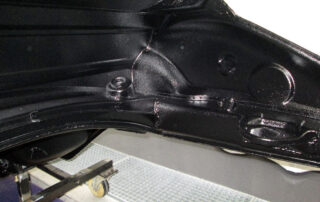
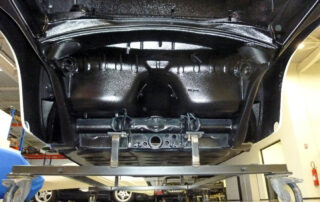
One of the front axle attachment points has small holes. We point him out to replace him.
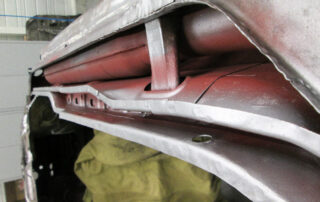
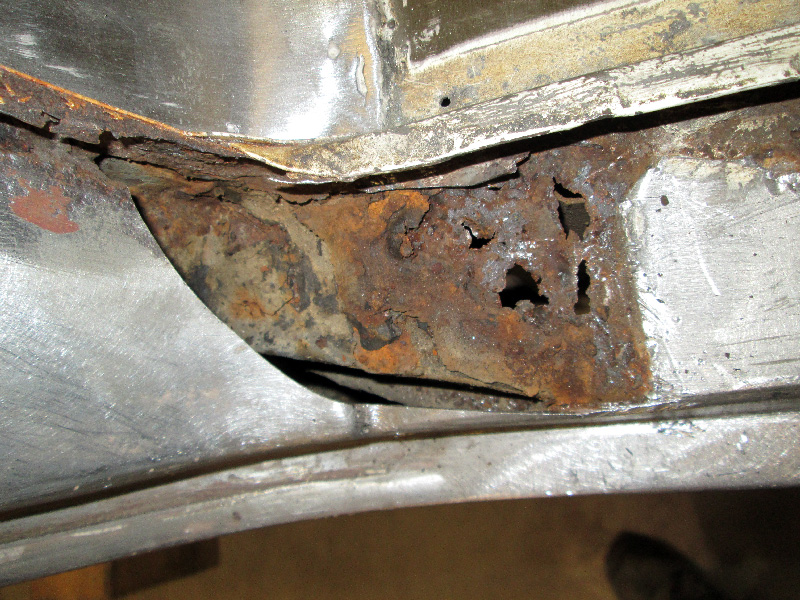
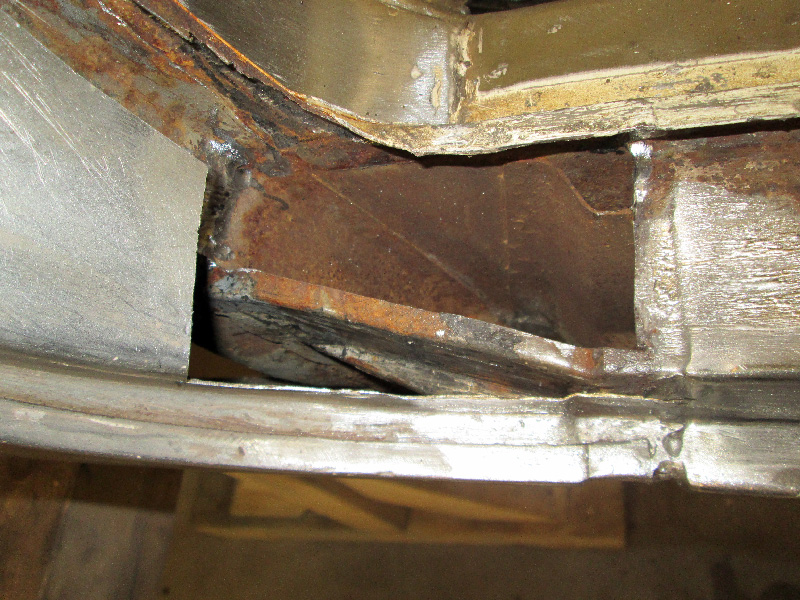
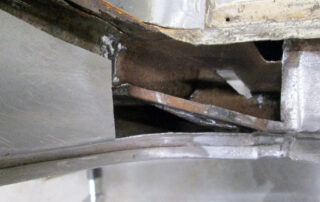
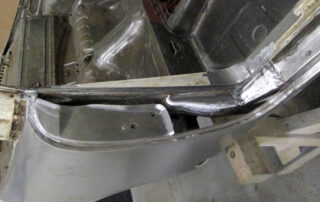
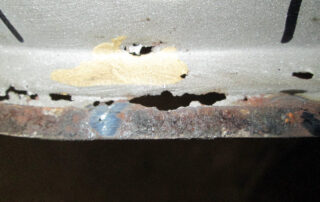
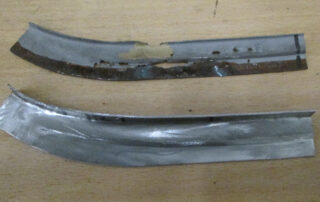
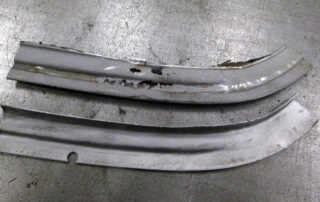
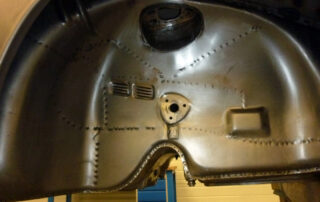
Both rear fender legs have small rust blisters. To treat them, we cut them down to the sound sheet metal. It is observed that the internal reinforcements are well damaged. We will also repair them.
Once the areas have been cleaned, we make shaped parts to replace the cut parts. The repairs made are no longer visible.
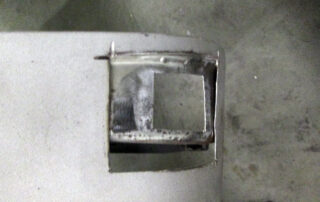
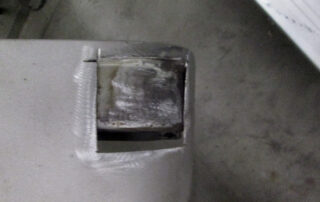
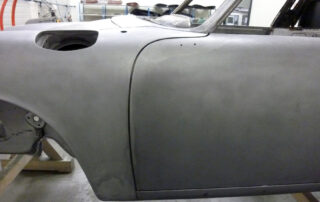
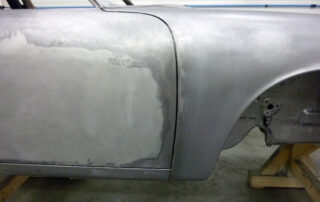
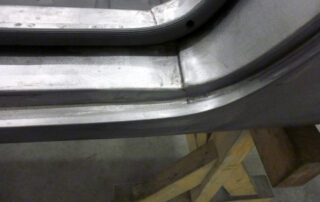
The front fenders are almost always rusty in their lower part, which is not spared on this 912. To treat, we cut out the rusty areas on both thicknesses of sheet metal. Then we make two parts to the right size, weld, grind and here is an effective and invisible repair.
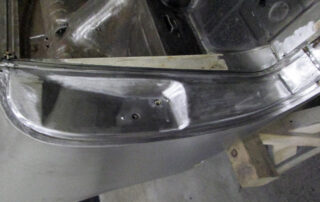
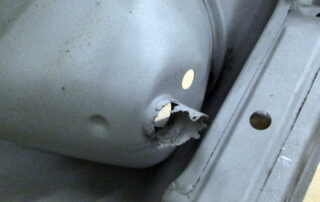
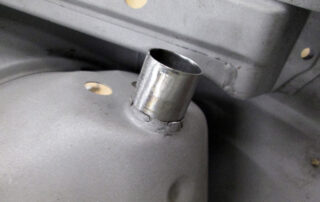
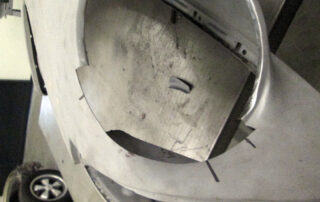
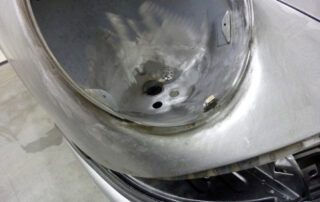
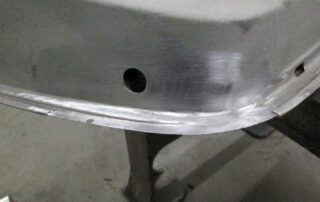
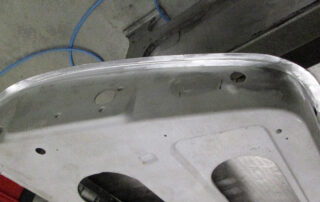
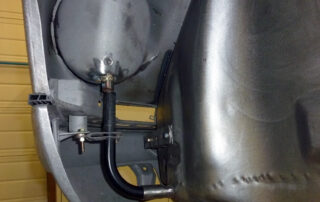
Headlight bowls often rust at intersections. Here we will remove the cable gland tube and replace it with a new one of our own making. The headlight bowl will then be removed from the fender to make the fender repairs right at the edge of the bowl. Then the bowl will be welded back to its proper position.
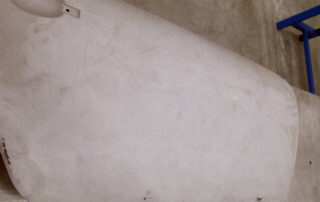
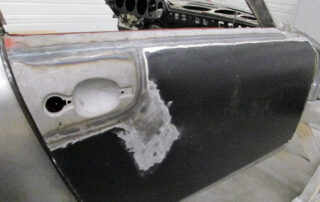
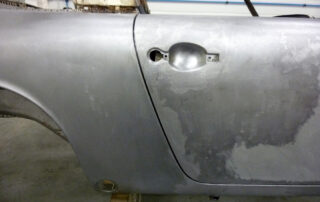
The doors still have rust spots on the bottom. To treat them, we apply the same techniques as before.
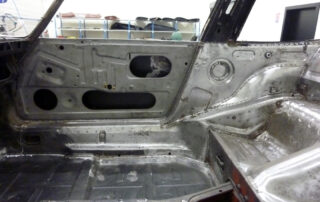
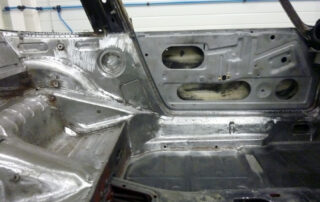
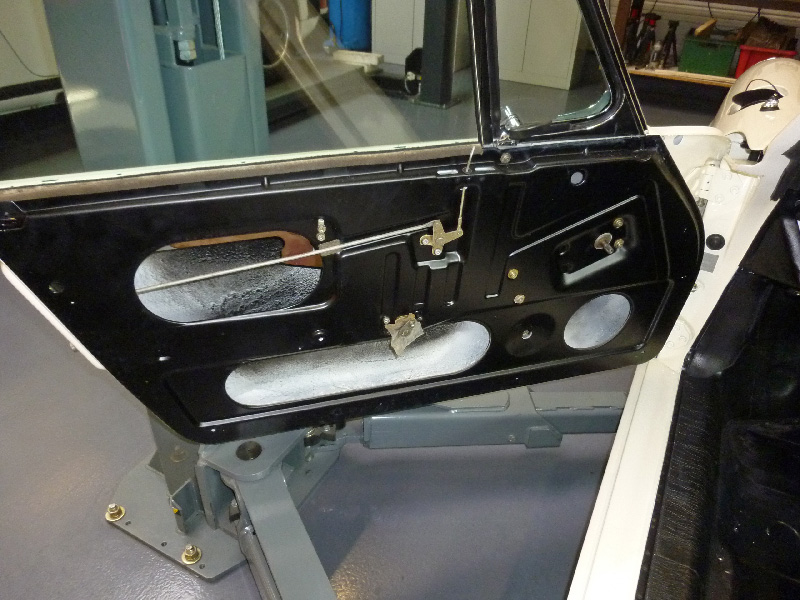
In order to treat the rust in the doors, we systematically remove the outer panel, without this operation we cannot intervene on the linings and crimps.
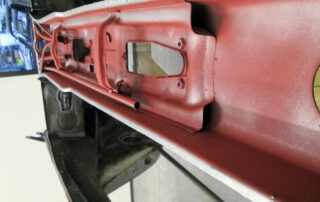
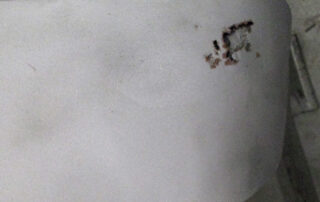
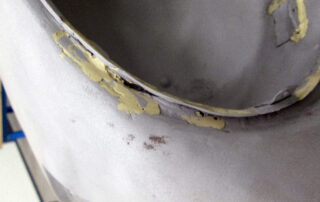
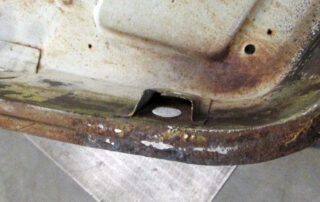
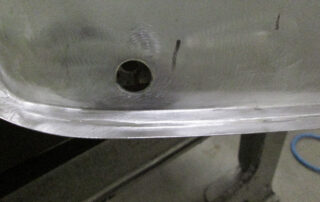
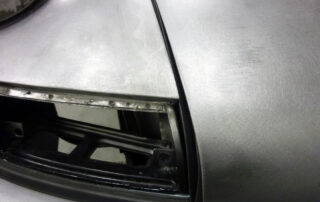
This 912 had an air conditioning system, a dozen of holes were drilled in the hull to pass pipes, as on the view above. We plugged them by pastillage, here we changed a piece of sheet metal.
Once all the repairs are done, we proceed to the adjustment of the outer shell with the tin and by doing a complete blank assembly.
It is at this stage that all the adjustments of the elements can be refined, once the painting is done, it is too late.
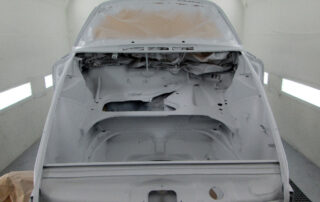
The same care is given to what can be seen but also to what cannot be seen.
Then all surfaces are carefully sanded and degreased to allow the epoxy to bond.
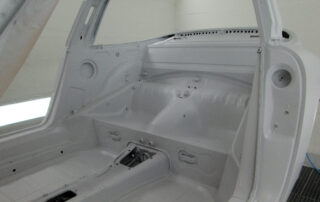
The epoxy is applied in every corner. Then it is sanded and degreased to apply the two-component anti-gravel.
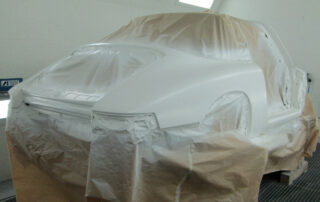
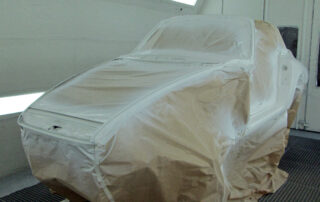
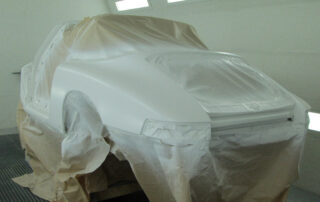
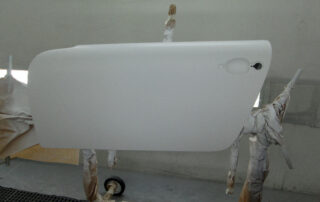
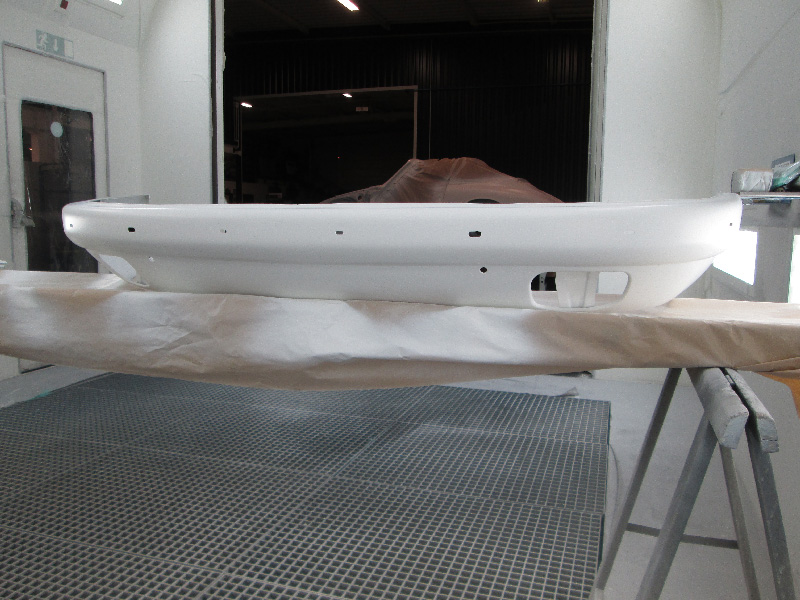
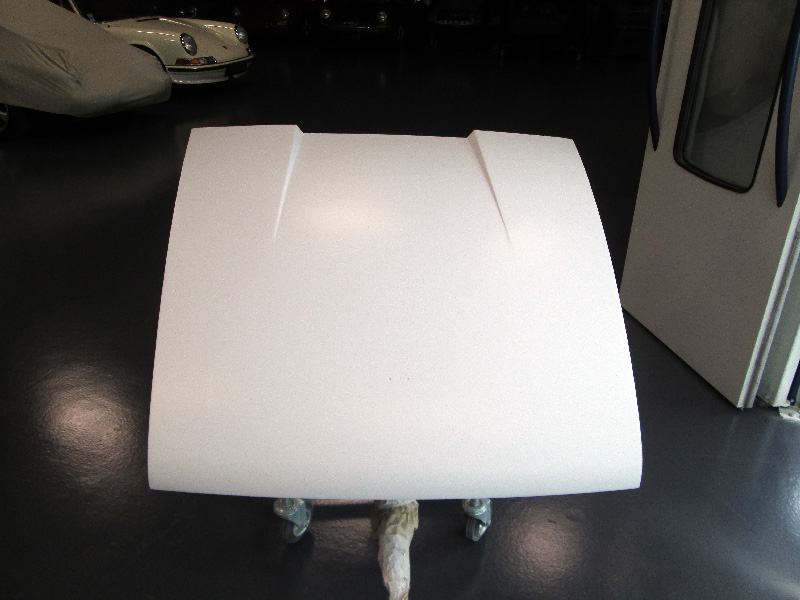
The next steps are to apply the polyester primer, which is then sanded again to correct the remaining defects. Next comes the finishing primer to remove micro-scratches. Then it’s the turn of the paint, direct gloss in two layers.
The windows and bumpers are treated in the same way but separately. The different masking is also carefully done at each step.
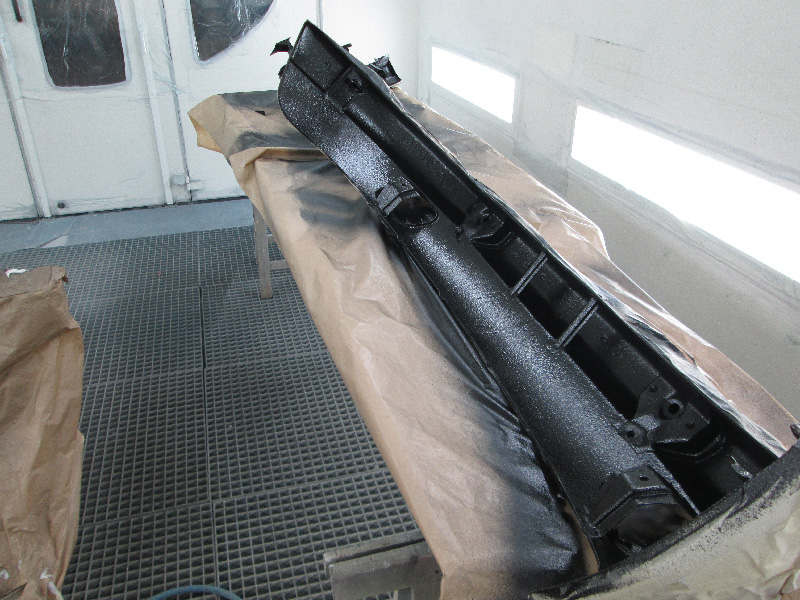
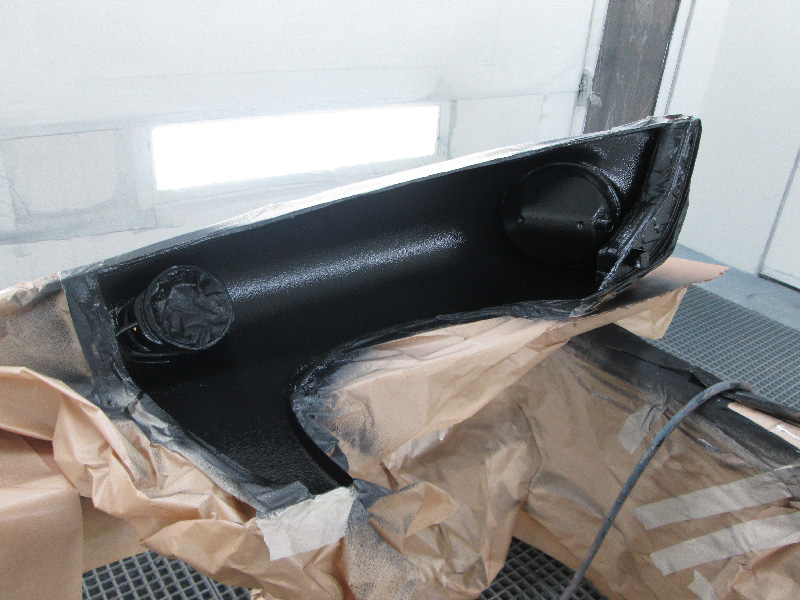
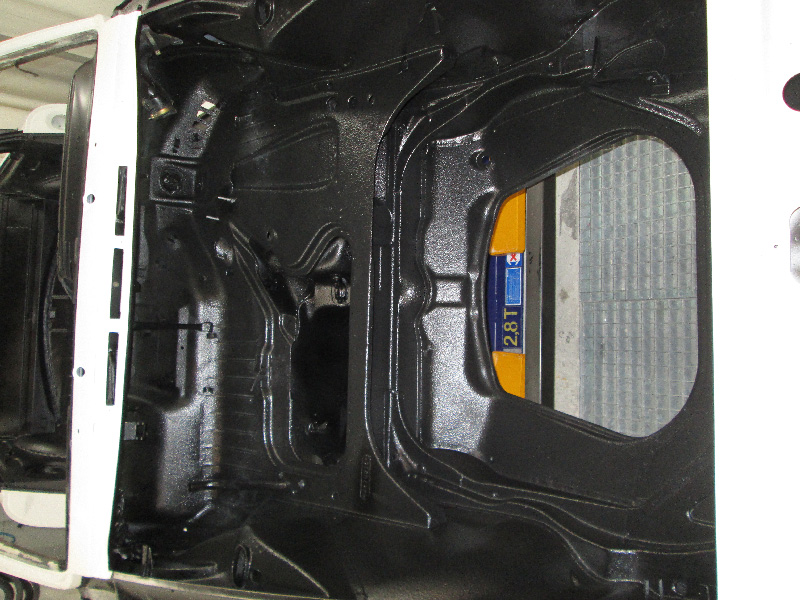
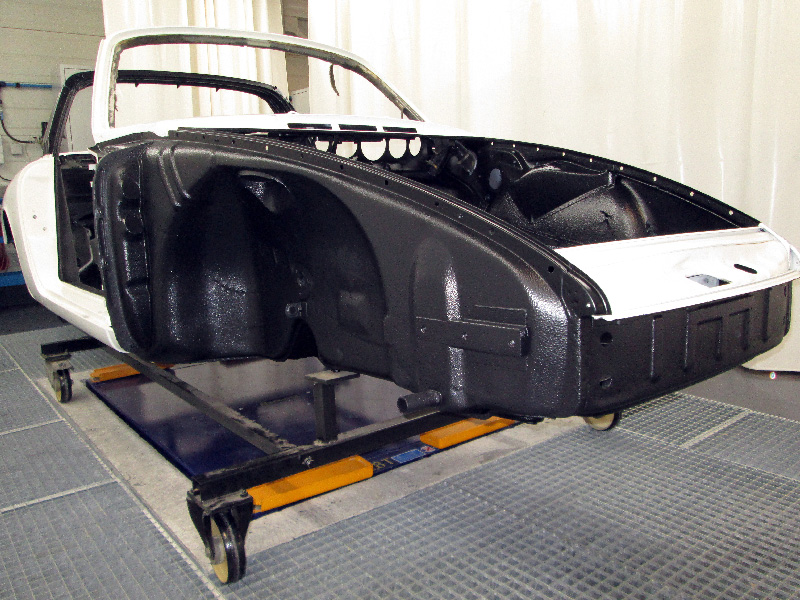
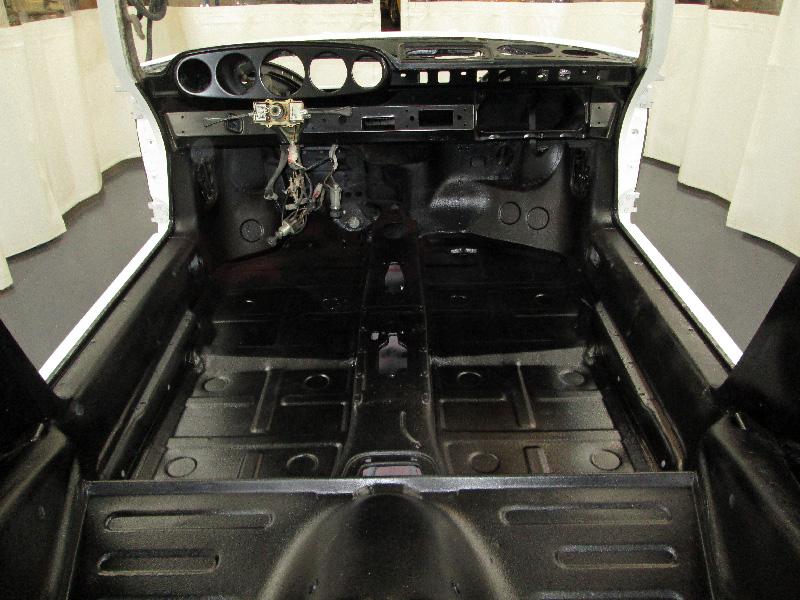
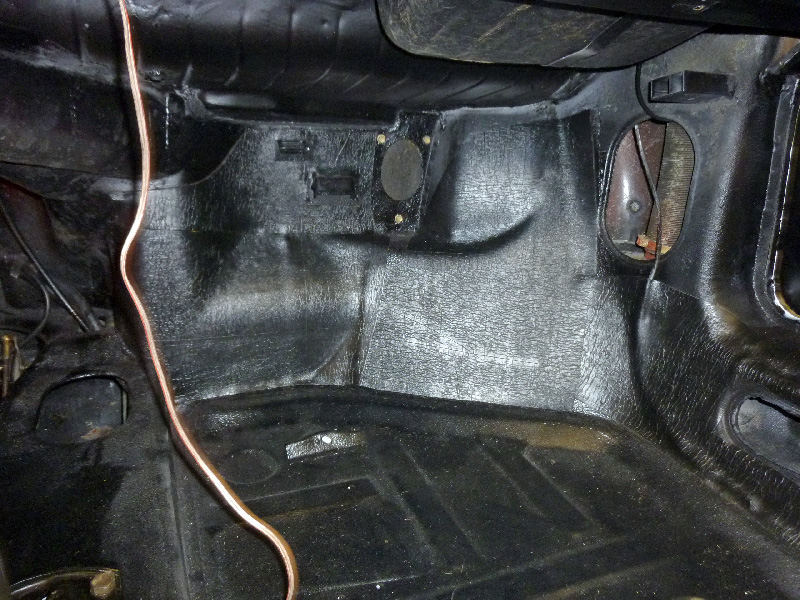
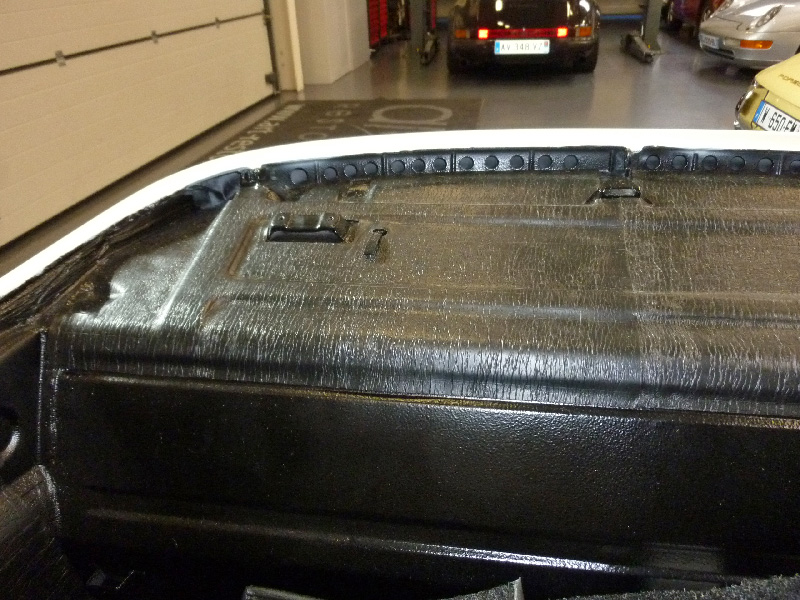
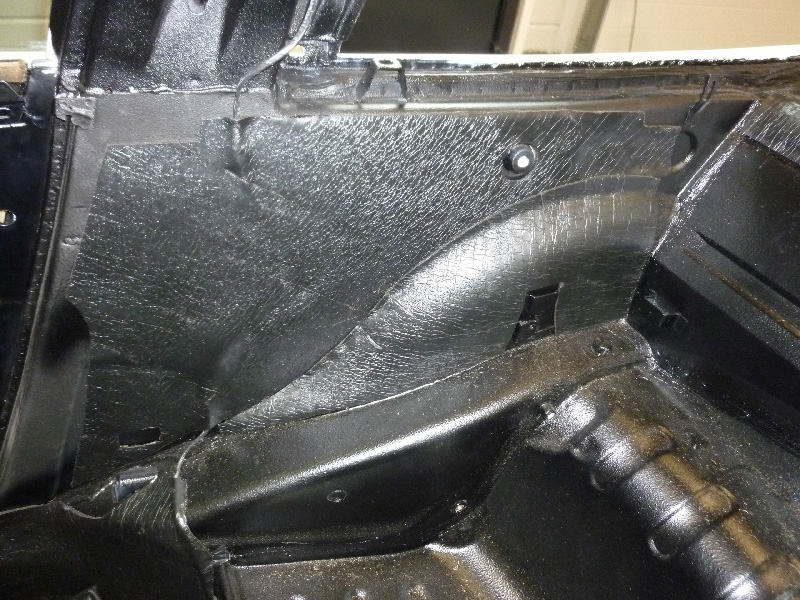
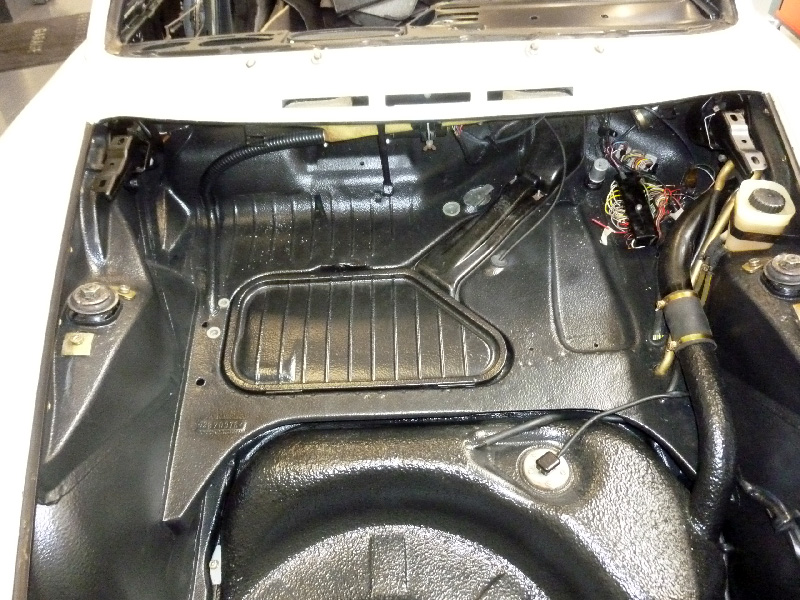
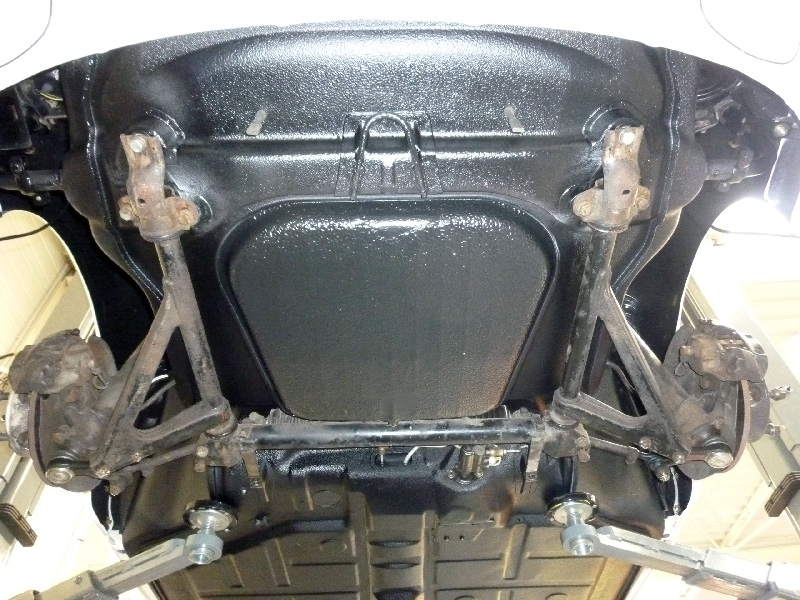
On this model a large part of the hull is treated with black anti-gravel, which we apply in a very thin layer so that all the welds and all the shapes of the sheet metal are still visible.
The long work of reassembly begins with the installation of the soundproofing tarred as of origin, its sticking and its shaping are rather delicate to make.
Then come the brake lines, the fuel lines, the electrical harness…
The running gear, the braking system, the windows…
Lights, bumpers and seals, interior….
The engine, the transmission…
In addition, this 912 has had a restoration of its soft top, a rebuilding of the wiring harness, an engine aesthetic, new body joints, an engine aesthetic….
Mileage : km – Year : 1968 – Price :

